


I’ve been using the EPSON RUNSENSE SF-810 wearable heart-rate sports watch for about six months now. Before I got the watch, I had to run with an armband and an iPhone running NIKE+ to track my workouts. These days, I love being able to head out with nothing but the watch on my wrist—no more bits and pieces strapped to my body, bouncing around as I run. My only frustration was that I wanted to keep all my old NIKE+ records, but after switching to the EPSON RUNSENSE SF-810, I had no way to consolidate the data from both platforms.
For a while, I even wore the EPSON watch and carried NIKE+ at the same time, just so I would have a record on both platforms. It was honestly a pretty silly thing to do. And once I compared NIKE+ against the accurate EPSON watch, it became even more obvious just how cheerfully optimistic NIKE+ could be. I finally decided to make a clean break, trust only the accurate data from then on, and enjoy running with nothing but my watch. Whenever I introduced the watch to friends, I also noticed that the question everyone asked most often was: Can the data be synced to NIKE+?
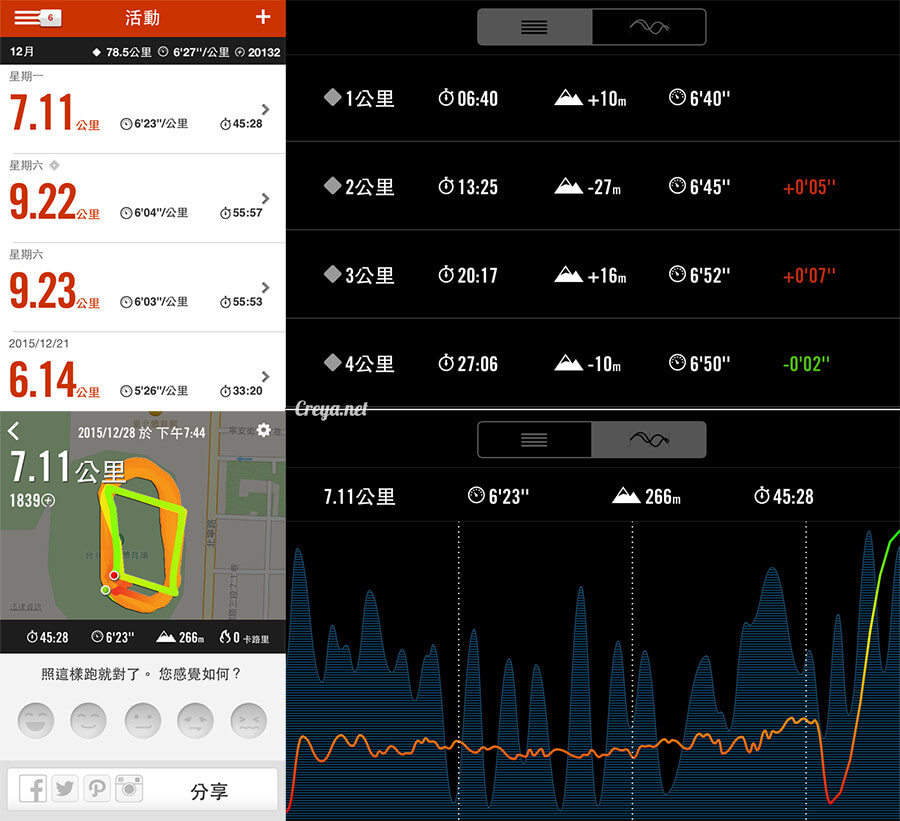
Apparently I wasn’t the only one with this problem, so I finally decided to sit down and figure out how to integrate the data from both platforms. That was when I discovered that syncing EPSON RUNSENSE SF-810 data to NIKE+ is actually incredibly easy. It takes just two simple steps. In this post, I’ll explain and document the process so fellow NIKE+ fans can switch devices without leaving their running history behind.
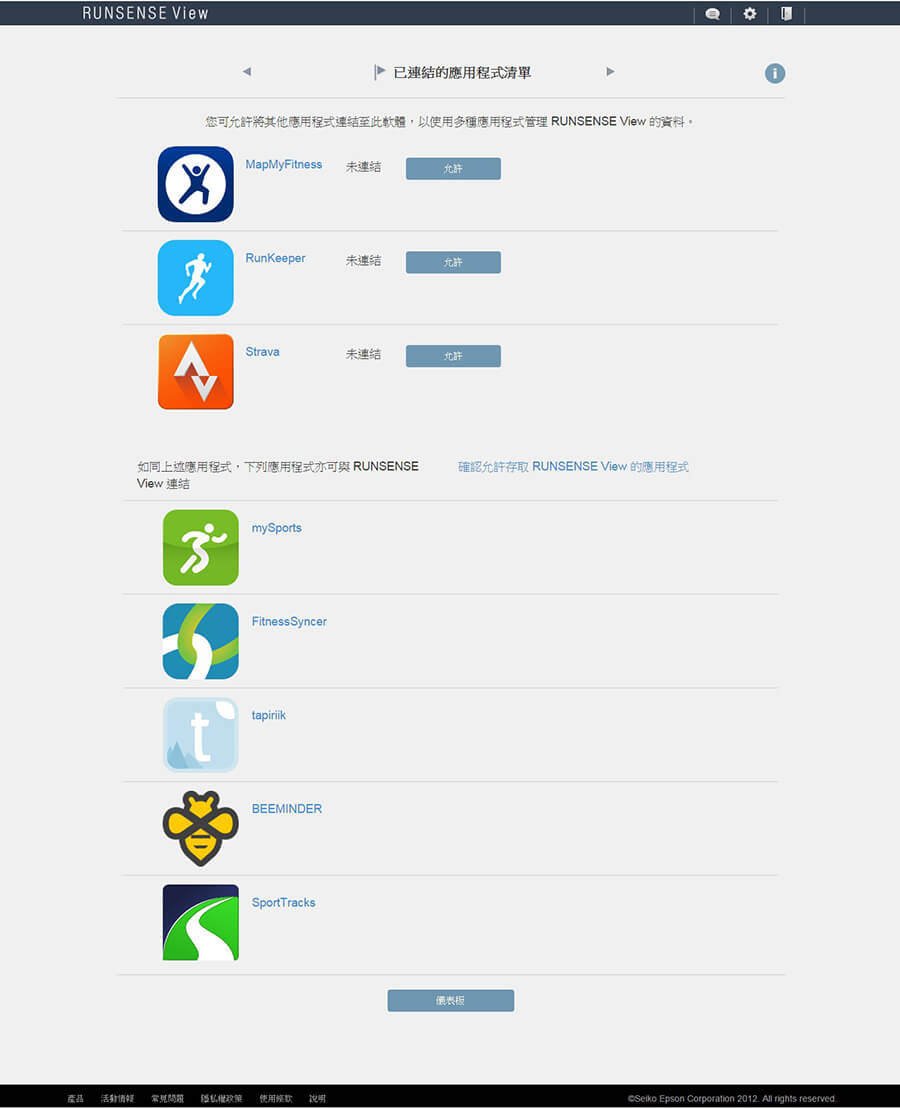
The EPSON RUNSENSE dashboard actually connects to a wide range of apps, allowing you to transfer your data directly to different platforms. Unfortunately, the one platform I regularly use—NIKE+—is conspicuously absent.
Before You Begin: Upload Your Watch Data
Before you start syncing, don’t forget to upload your watch data to the EPSON RUNSENSE cloud. EPSON gives you two options: upload it through the mobile app or directly from a computer. I prefer connecting the watch to my computer because I can upload multiple records at once.
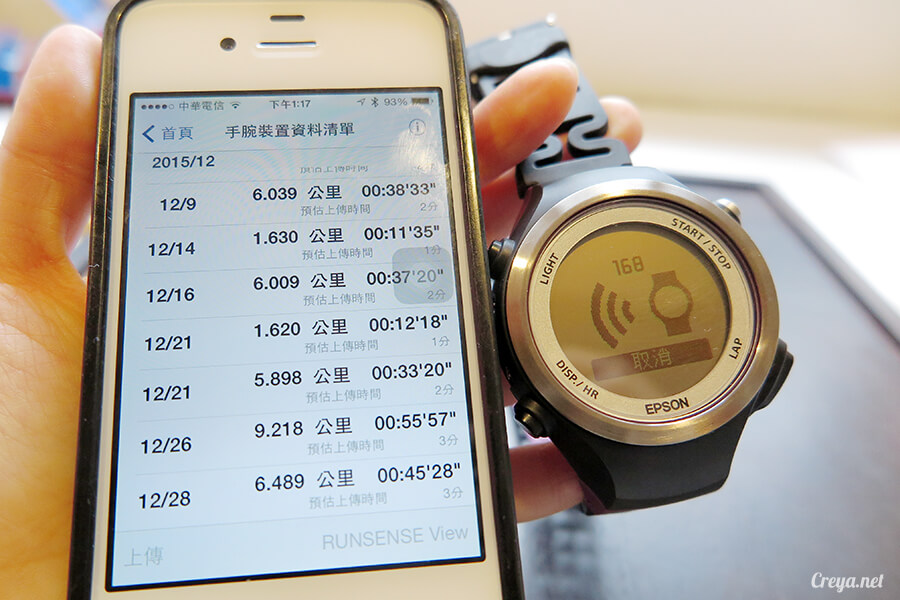
[ Uploading data with a phone ]
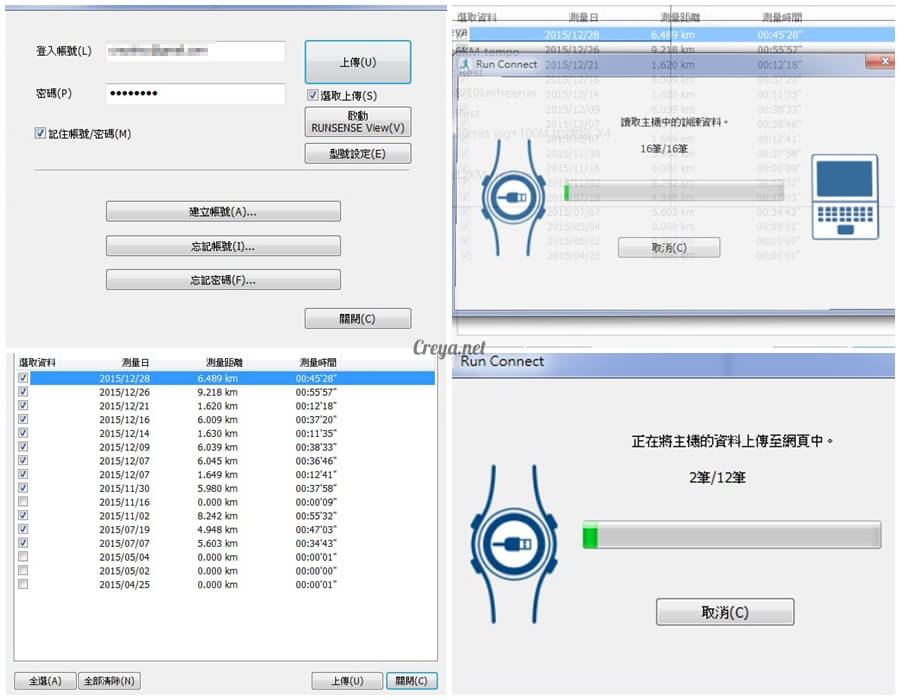
[ Uploading is faster when connected to a computer with a USB cable ]
Step 1: Download the GPX File
After syncing your watch data to the EPSON RUNSENSE cloud, log in to theEPSON RUNSENSE View website, where you’ll see the data for each of your runs. You can select multiple records that you want to sync to NIKE+, then click “Export as GPX” in the upper-right corner.
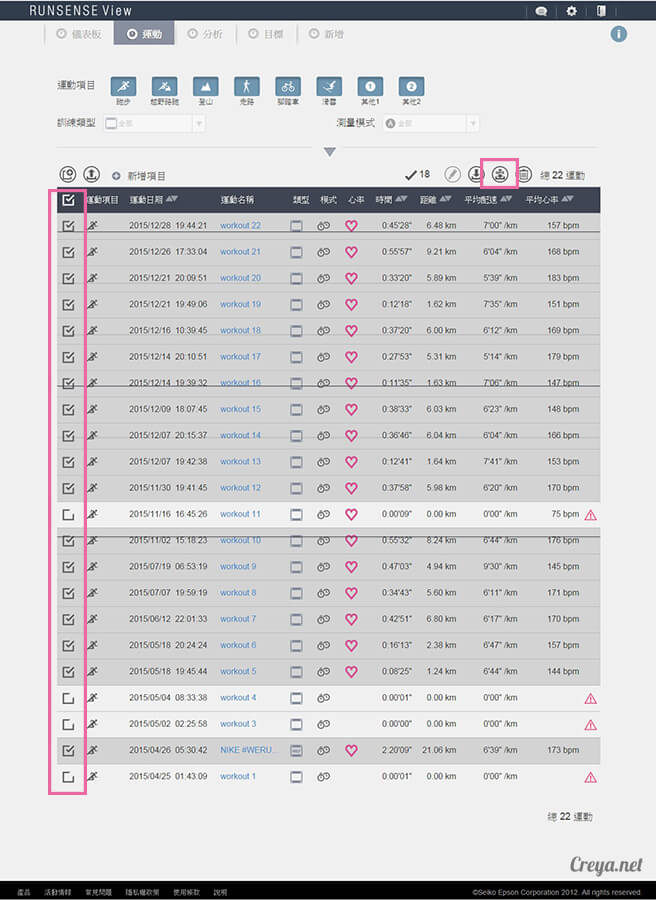
[ Select the data you want to sync and download the GPX log files ]
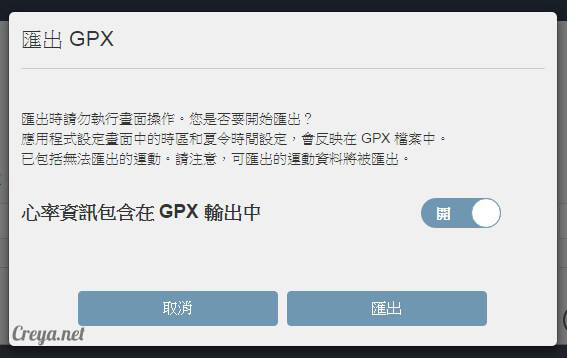
[ You can also choose whether to include heart-rate data ]
Step 2: Upload the GPX Data to NIKE+
Next, usehttps://www.awsmithson.com/tcx2nikeplus/this website to upload the GPX data you just downloaded to your NIKE+ account. Select “GPX file,” then click “Browse” and locate the GPX file you downloaded. (If it was downloaded as a ZIP file, unzip it first.) Under “Nike+ Authentication,” enter your NIKE+ username and password. If you’ve forgotten them, you can visit theNIKE+ websiteand use the password recovery feature.
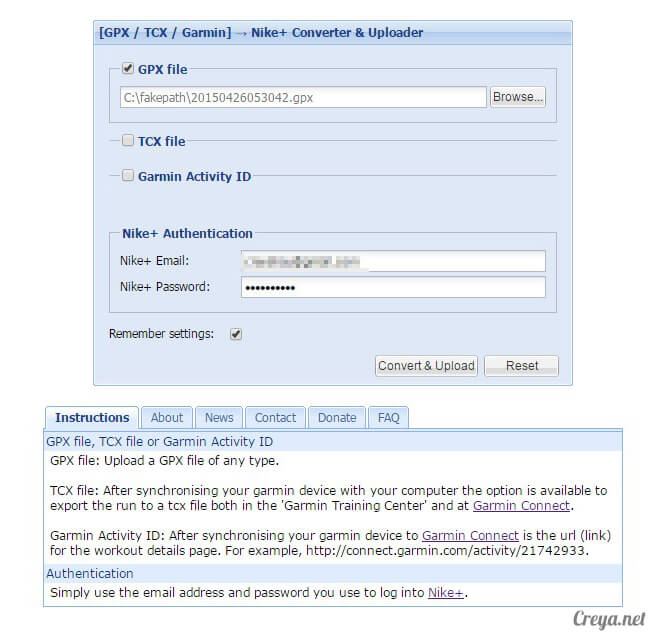
[ Upload the records one at a time. You can save your password so you don’t have to keep entering it ]
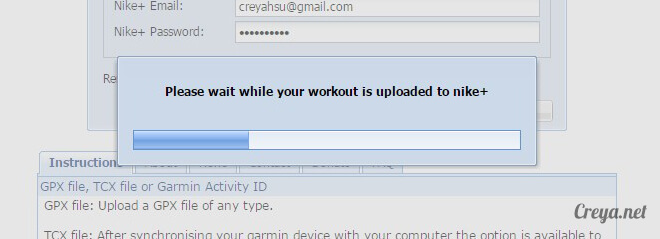
[ Uploading data ]
Open NIKE+ and let it sync. Ta-da! All your data will appear! The process is super quick and easy, isn’t it? If you normally use a different running-data platform, the syncing process is much the same. From now on, you can keep all your data together in one complete record. I also hope EPSON adds built-in syncing with NIKE+ in the future—that would make things even more convenient.


